Making a Sale
This guide walks you through processing a complete sale from start to finish.
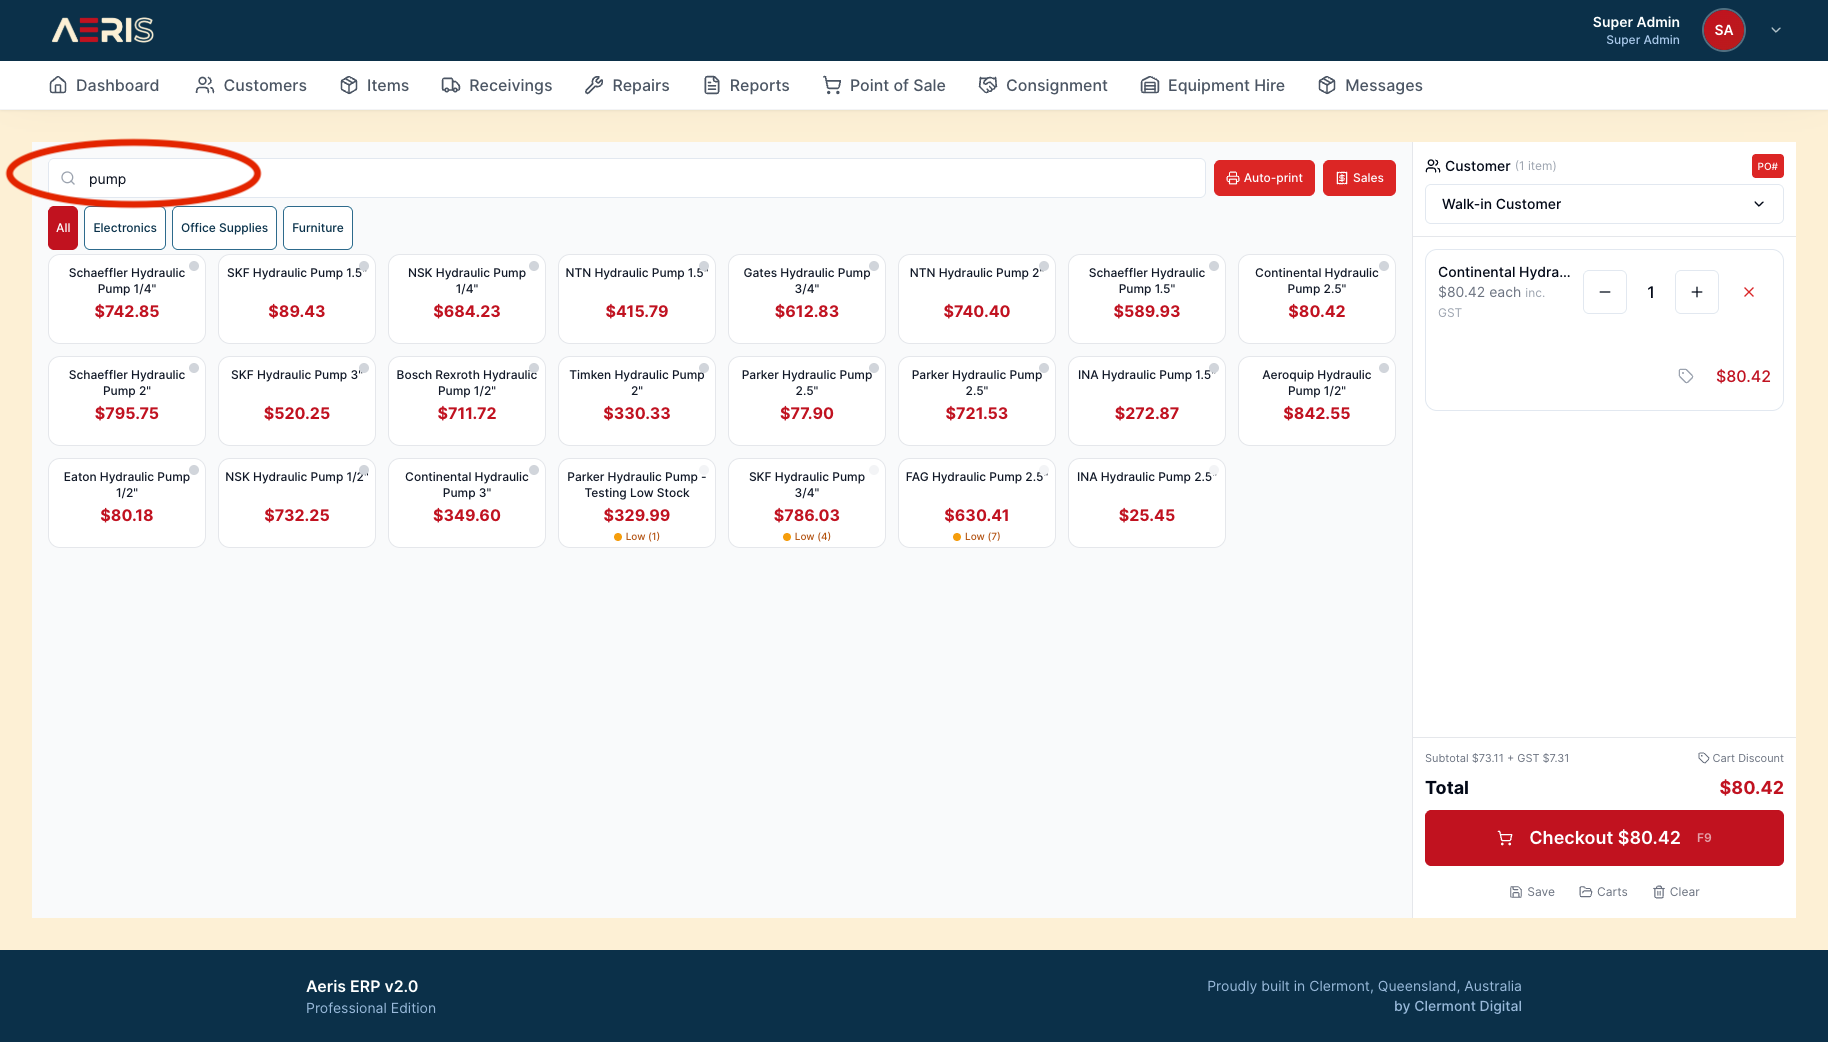
Step 1: Add Items to Cart
Using Barcode Scanner
Click in the barcode field
Scan the product barcode
The item is automatically added to the cart
Continue scanning additional items
Searching for Products
Type the product name, SKU, or partial barcode in the search box
Click on the product in the search results
The item is added to the cart
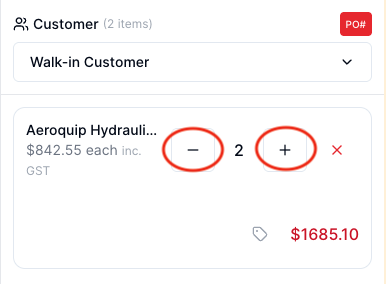
Step 2: Adjust Items (if needed)
Change Quantity
Click the + or - buttons next to the item
Or click the quantity and type a new number
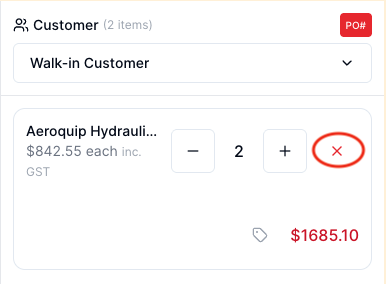
Remove an Item
Click the X button next to the item
Or set the quantity to 0
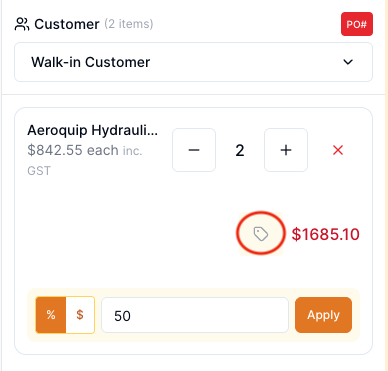
Apply a Line Discount
Click on the ticket icon underneath an item in the cart
Enter the discount amount or percentage
Click Apply
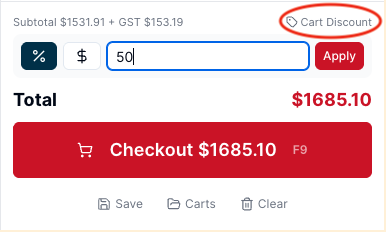
Apply a Cart Discount
Click on the ticket icon above the Checkout Button in the cart
Enter the discount amount or percentage
Click Apply
Step 3: Select Customer (Optional)
To link the sale to a customer:
Click the down arrow at the top of the cart
Search for the customer by name, phone, or email
Click on the customer to select them
Benefits of selecting a customer:
Sale appears in their purchase history
Can charge to their account
Loyalty points are applied
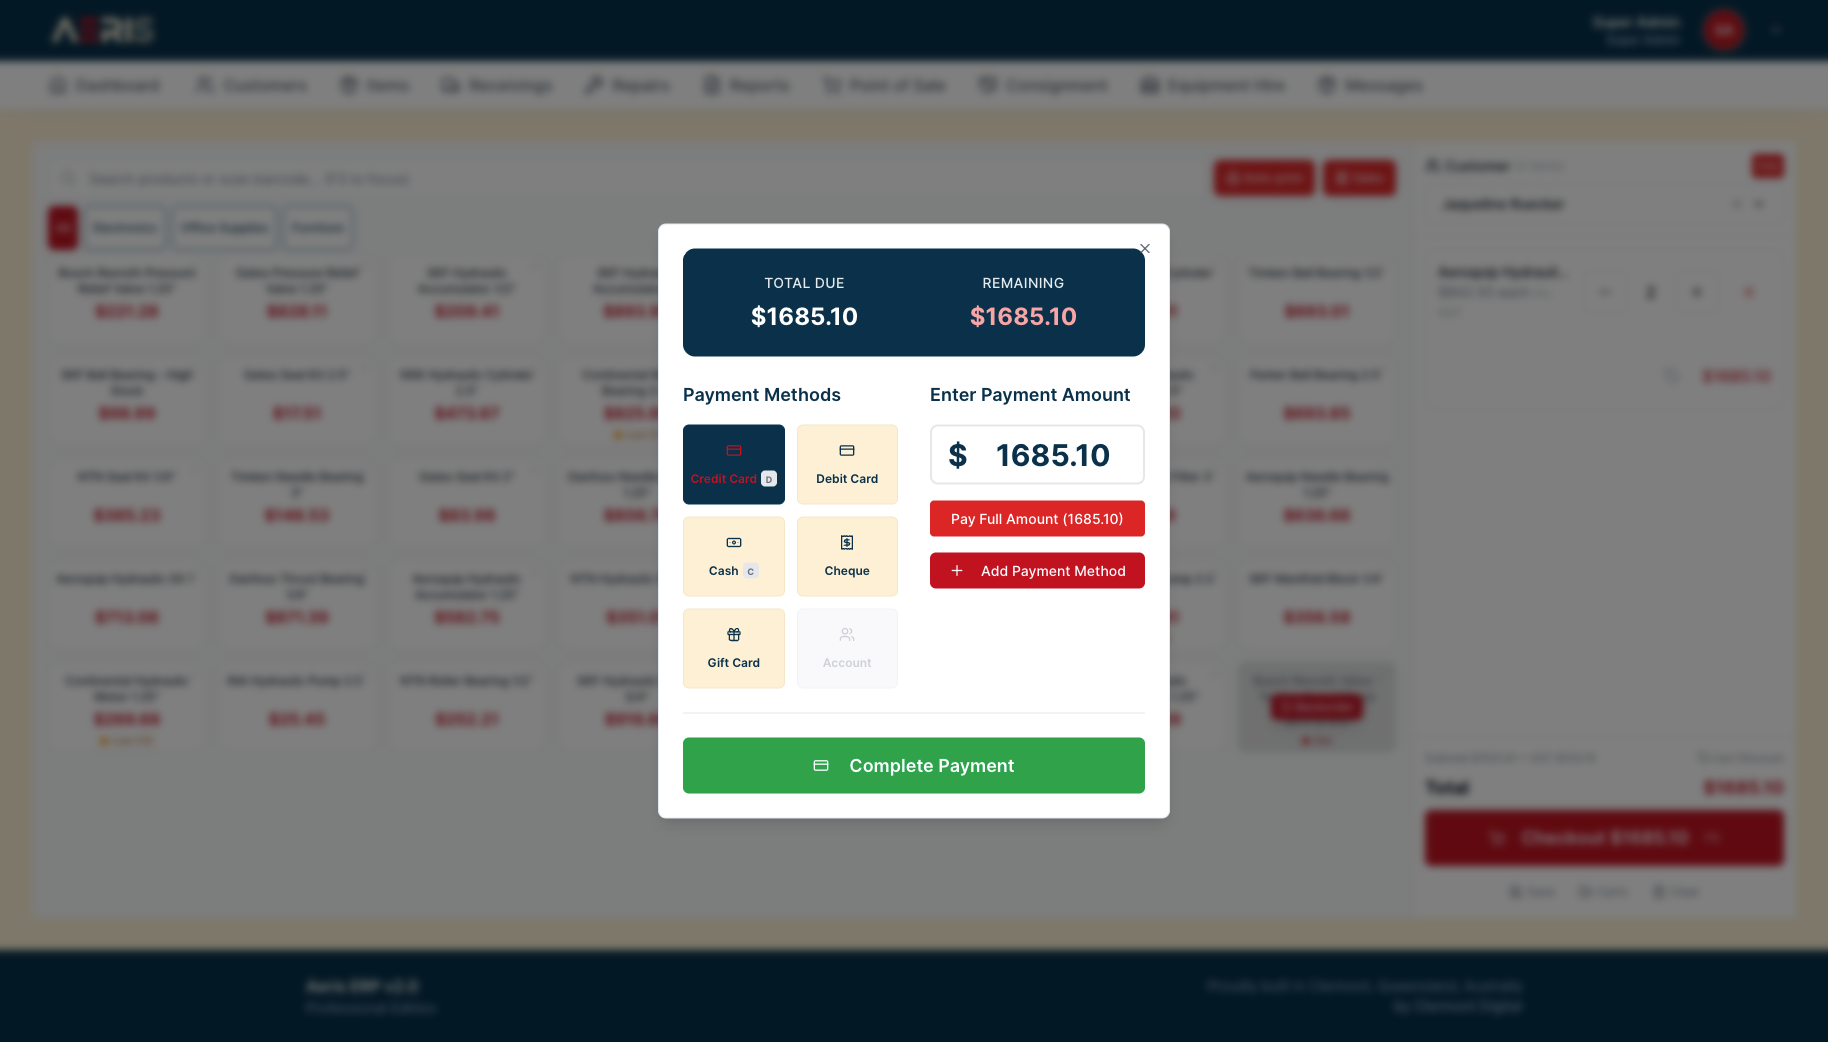
Step 4: Process Payment
Review the cart total
Click Checkout
Select the payment method:
Cash - Enter amount tendered
Card - Process through EFTPOS
Gift Card - Pre-purchased credit
Account - Charge to customer account
Click Complete Sale
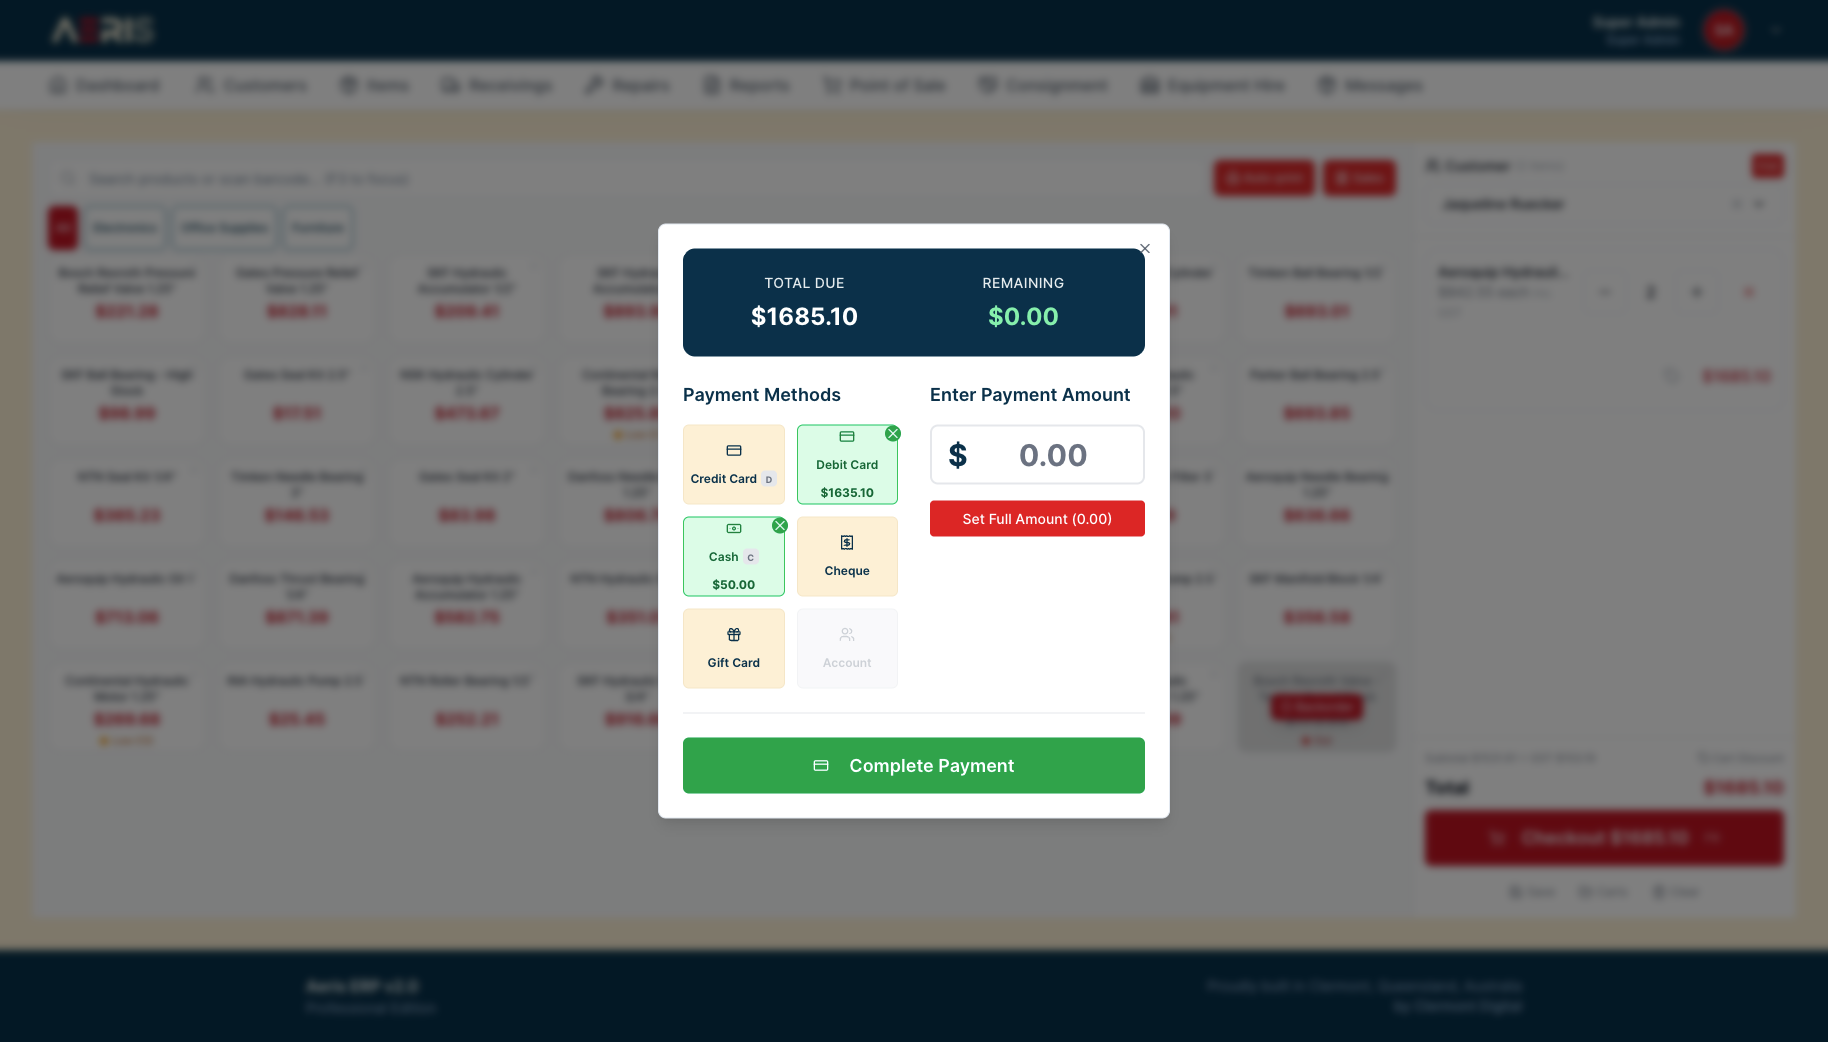
Split Payments
To split across multiple payment methods:
Type in the amount
Click Add Payment Method
Add additional payment methods
Complete when the total is covered
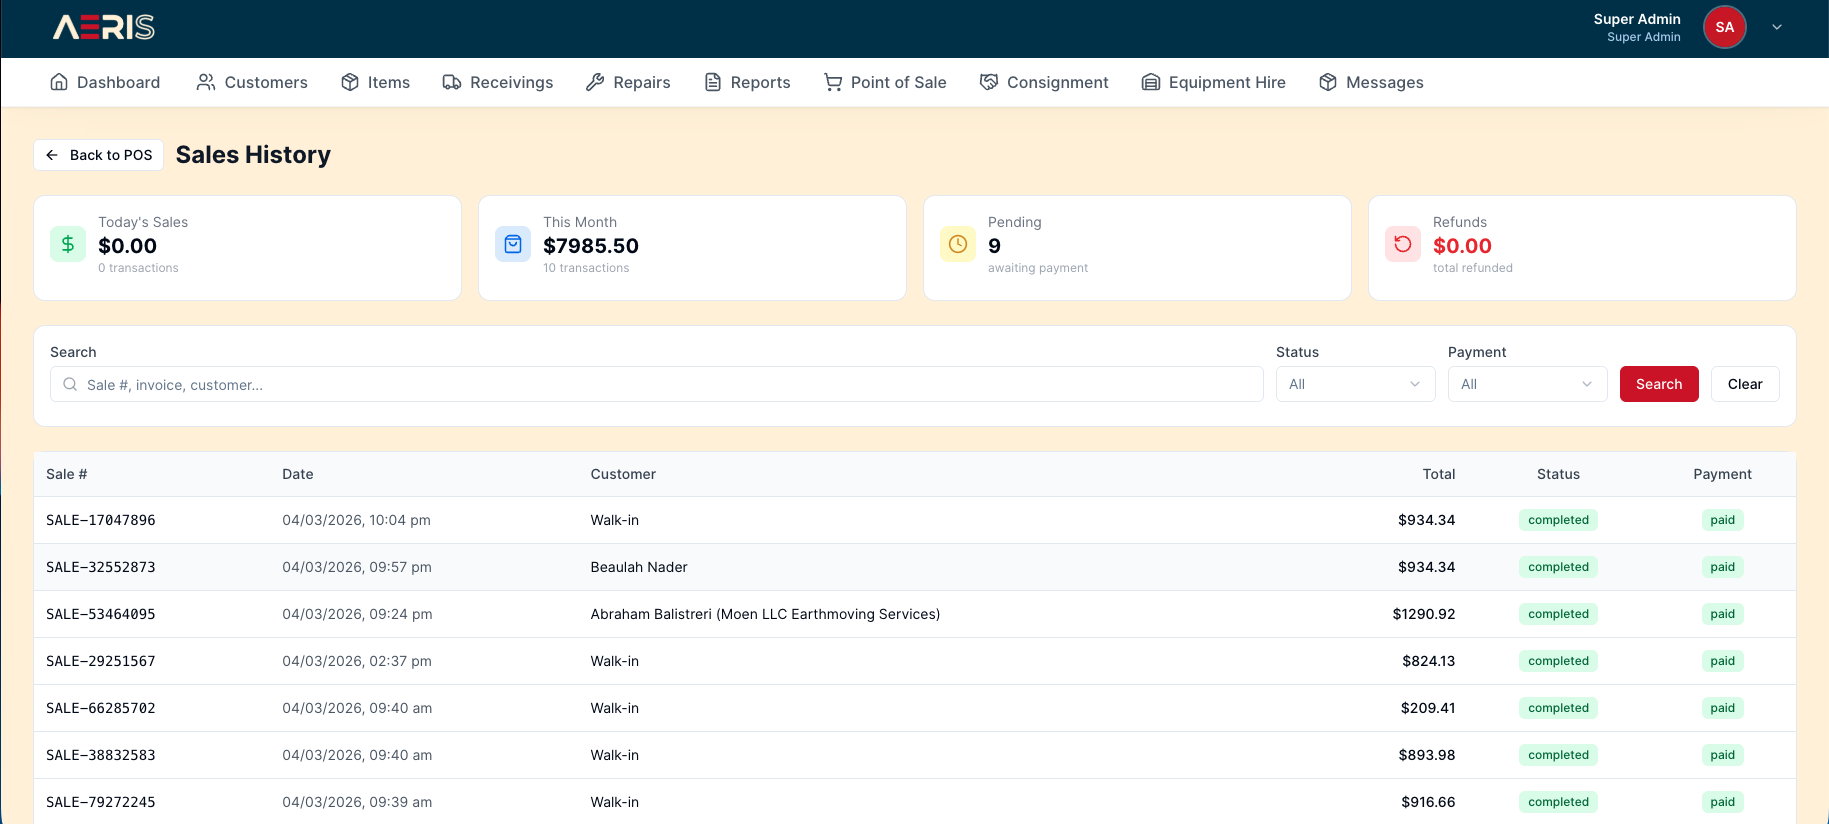
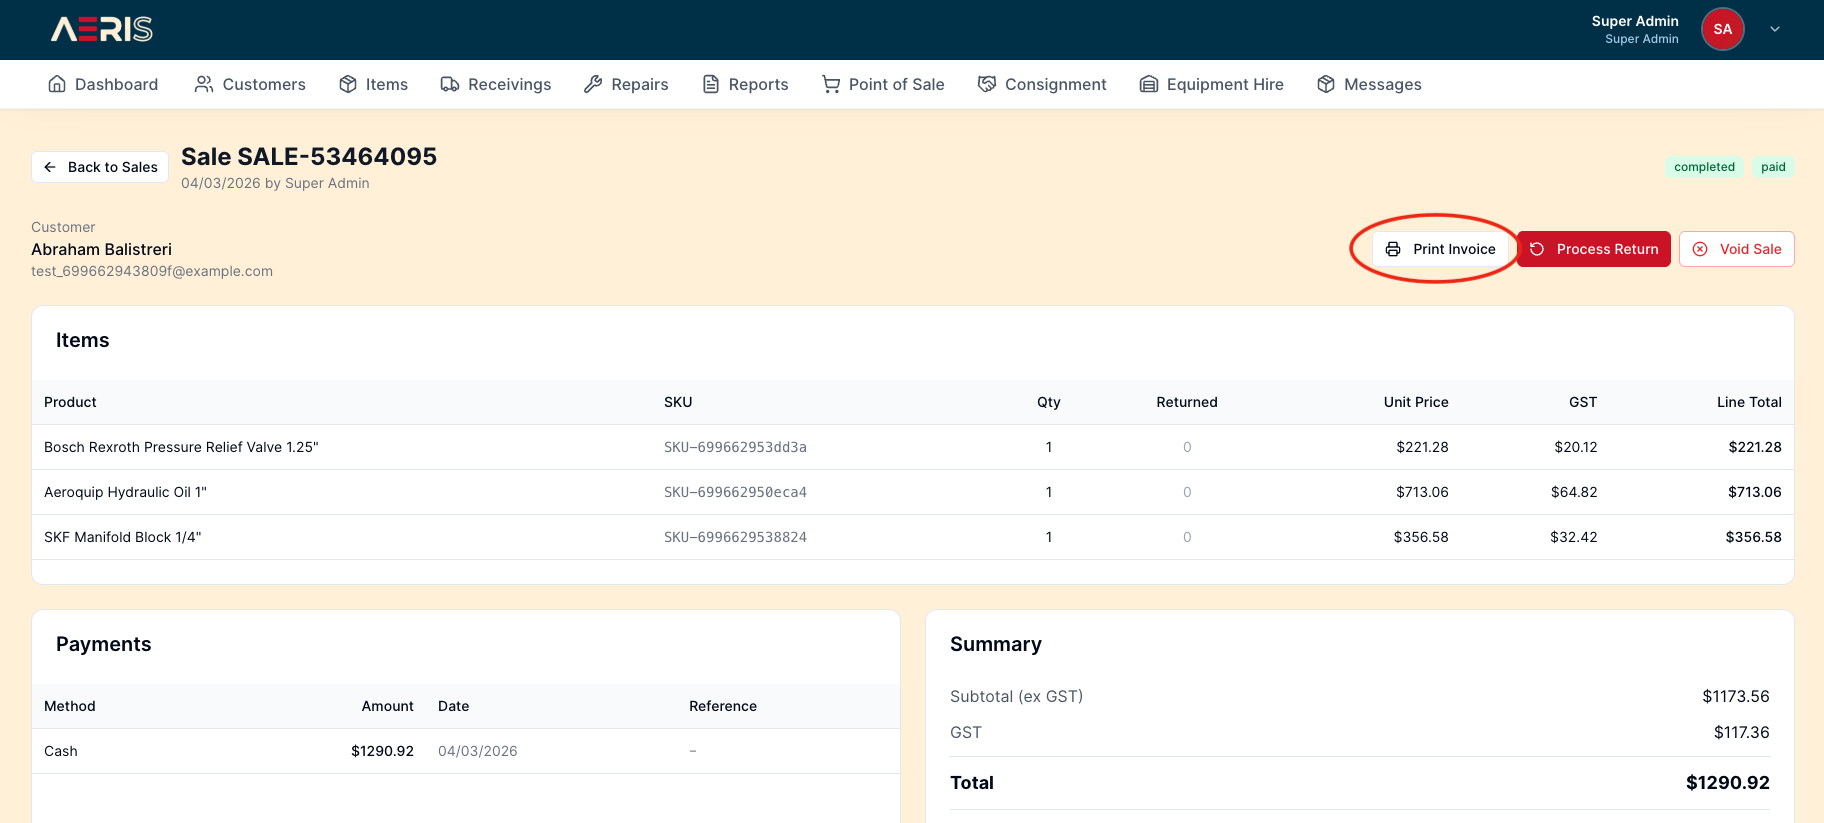
Step 5: Print Receipt
After the sale is complete:
Click the Sales button to view Sales History
Search for and choose the past sale
Click Print Invoice to print
Click Email Receipt to send to customer(coming soon)Click New Sale to start the next transaction(coming soon)

Example: Complete Sale
Here's a typical sale:
Customer brings items to counter
Scan each item's barcode
Customer asks for a bag - search "bag" and add it
Choose customer
Total is $127.50 - click Checkout
Customer pays by Credit Card - select Credit Card
To process transaction click Complete Payment
Print receipt for customer
Tips for Faster Sales
Keep the barcode field focused for continuous scanning
Add customers to save time on repeat visits
Common Questions
What if an item won't scan?
Search for it by name or SKU instead. If you can't find it, the product may need to be added to the system.
Can I cancel a sale in progress?
Yes, click Clear (small trash can icon under checkout button) to remove all items and start over.
What if I make a mistake after completing?
See Processing Refunds for how to handle mistakes.